Instagram Highlights make it easy to organise your stories and let people browse through them. They appear below your profile, giving visitors a quick way to get to know you. If your goal is to grow your page or refine your profile, Highlights are a solid option to start with. The coolest thing? You don’t need fancy design skills to create them. Canva keeps it super simple.
This guide will show you how to create Instagram Highlights using Canva. Let’s dive in.
What Are Instagram Highlights?
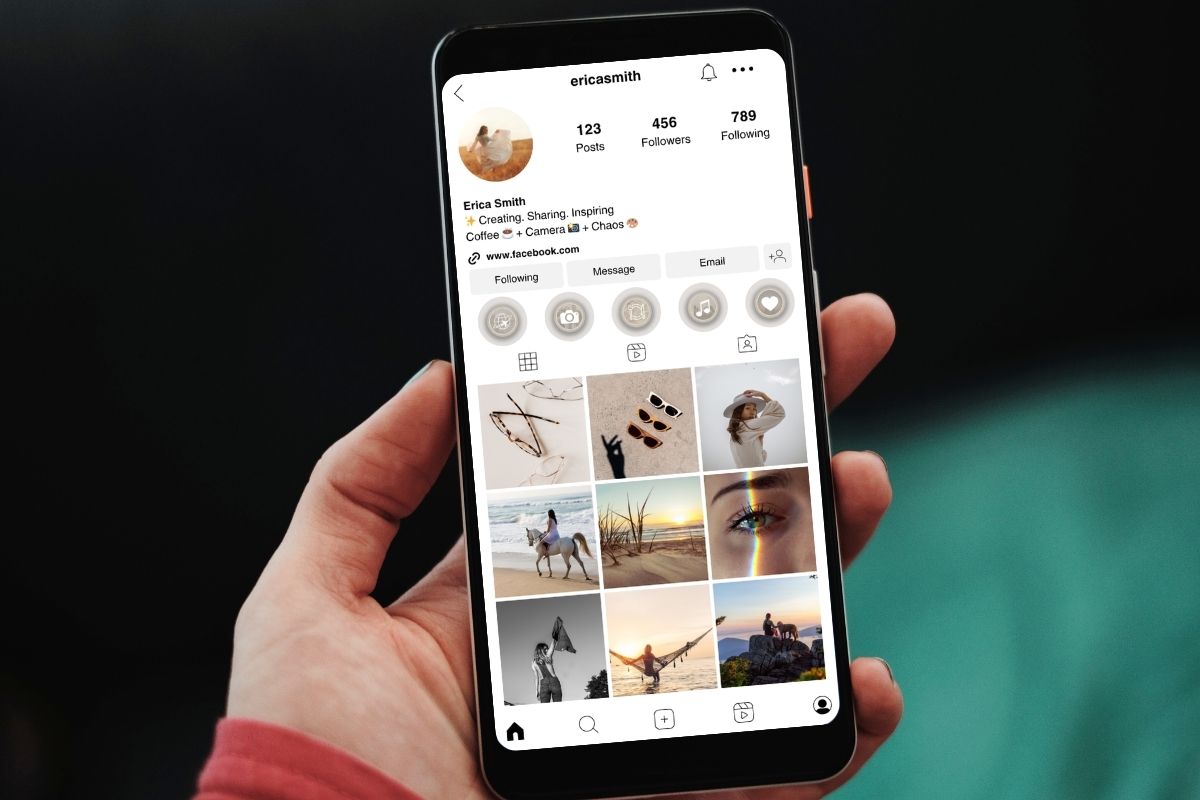
Instagram Highlights are like folders for your Instagram Stories. Usually, a story disappears after 24 hours. But if you save it as a Highlight, it stays on your profile. You can name each one and give it a cover.
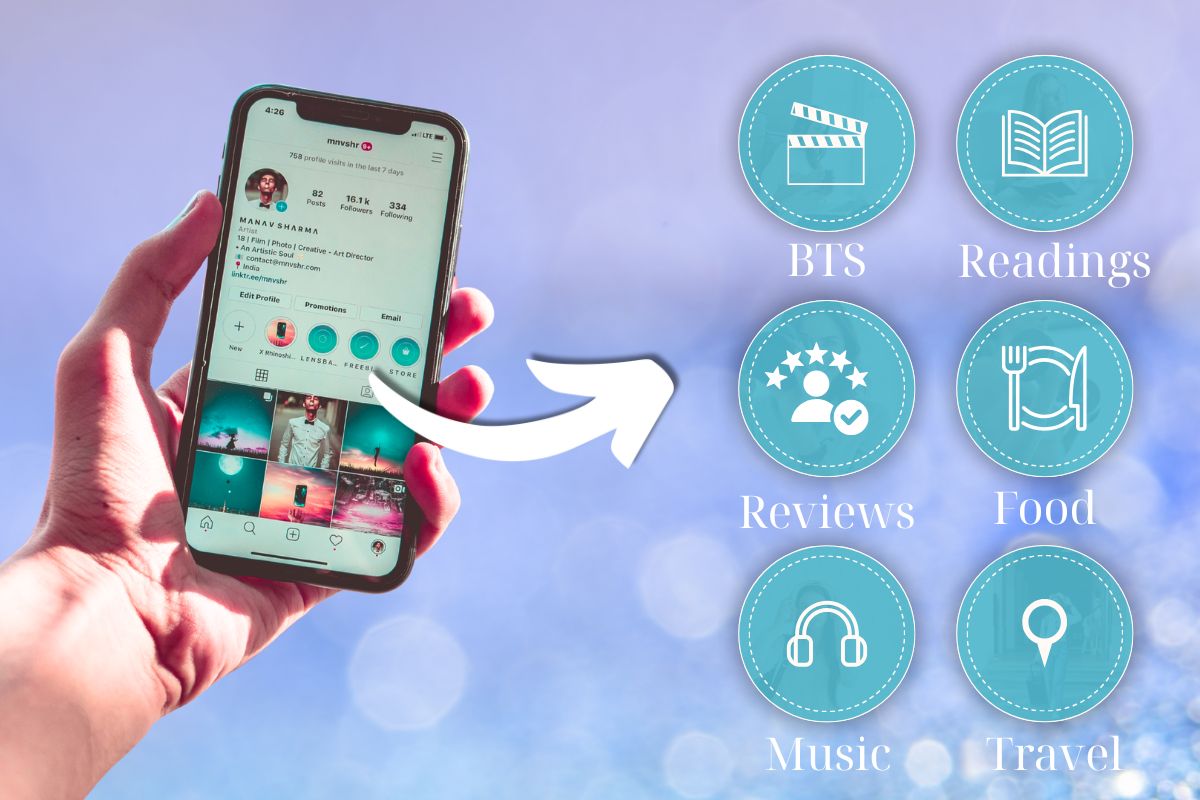
For example, some people create Highlights for:
- Travel
- Food
- Reviews
- BTS (behind the scenes)
- Tutorials
I made ones for “My Art,” “Daily Life,” “Tips,” and “Pets.” It helps keep everything in order. It also makes your profile look nicer.
Also read: Turning Setbacks into Success: A Simple Guide That Actually Helps
Why Use Canva for This?
Canva is a free design tool. You can use it online or download the app. It has a bunch of templates, icons, and tools. The best part? You don’t need to know how to use Photoshop or any complicated software. If you know how to click and drag, you’ll be fine.
Step 1: Open Canva and Search “Instagram Highlight Covers”
Go to Canva or open the Canva app. In the search bar, type “Instagram Highlight Covers.” You’ll see tons of templates pop up. Some are cute, some are modern, some are bold.
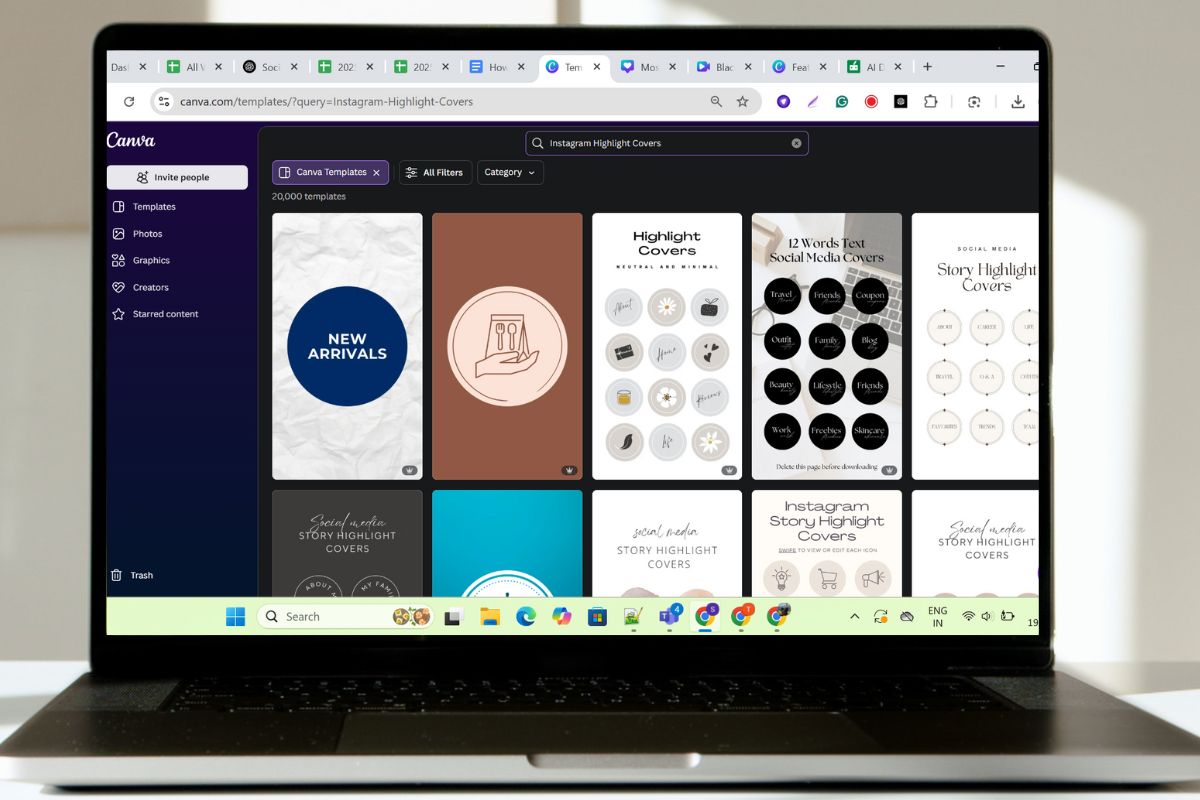
Pick a style you like. I went for a simple beige theme because I like calm colours. But you can pick whatever fits your vibe.
Step 2: Choose a Template or Start from Scratch
Canva gives you two options. You can either:
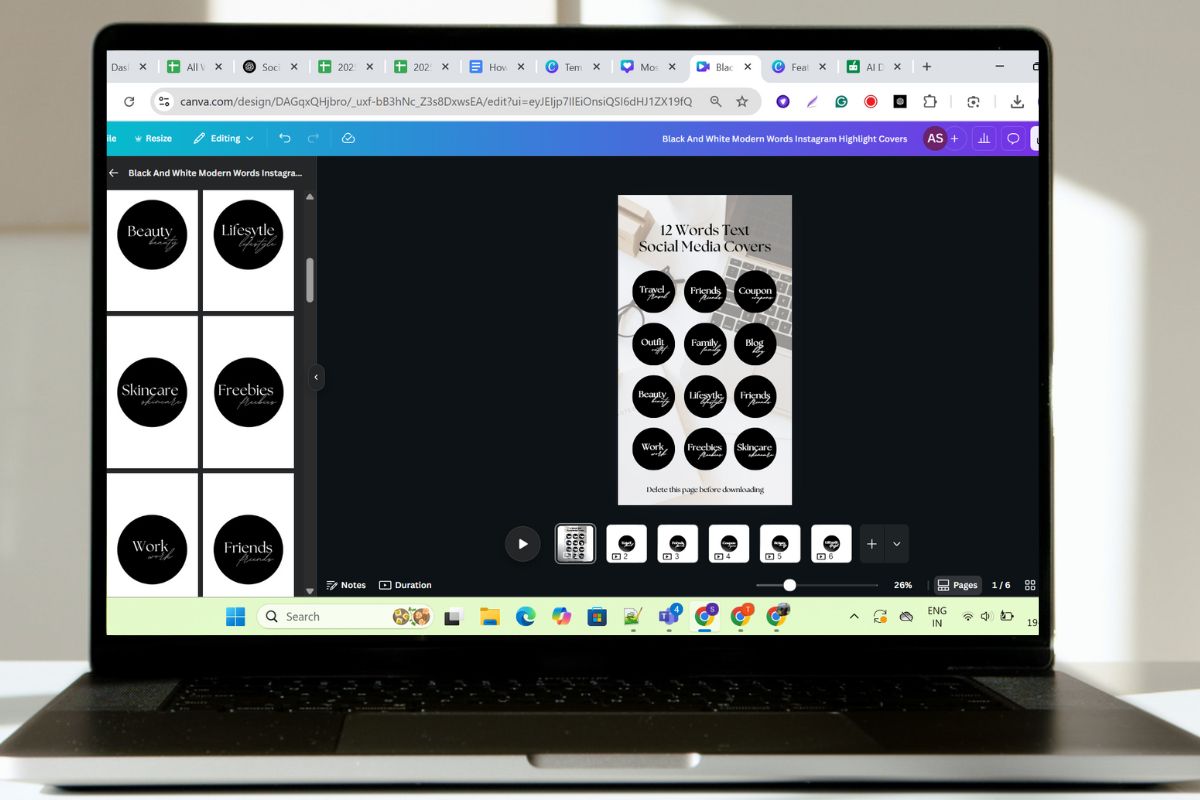
- Use a ready-made template
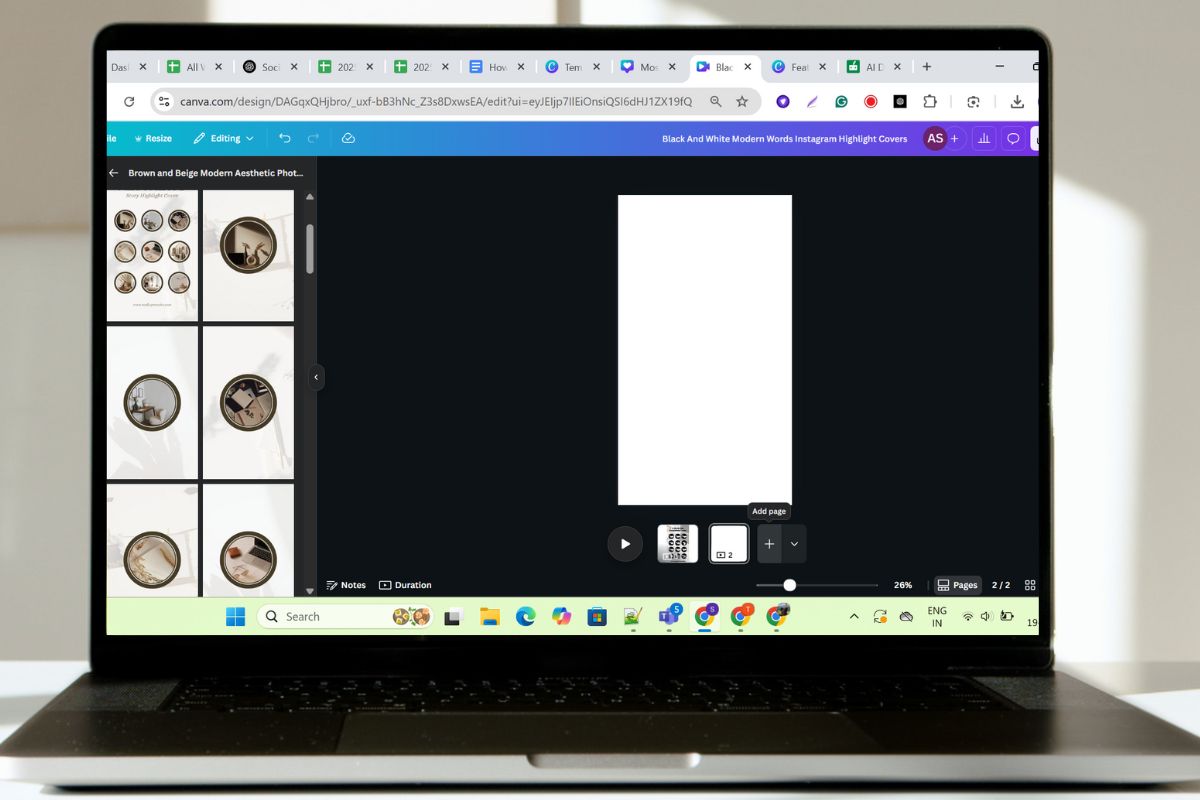
- Make one from a blank page
I picked a template at first to get ideas. Then I clicked “Add a page” and started fresh. I added my colours and icons.
If you’re new, it’s okay to stick with a template. You can still change the text, colours, and pictures later.
Step 3: Set the Background Colour
Pick a background colour that matches your Instagram feed. It could be pink, white, green, beige—anything. Just keep it the same for all your Highlight covers. That way, they look like a set.
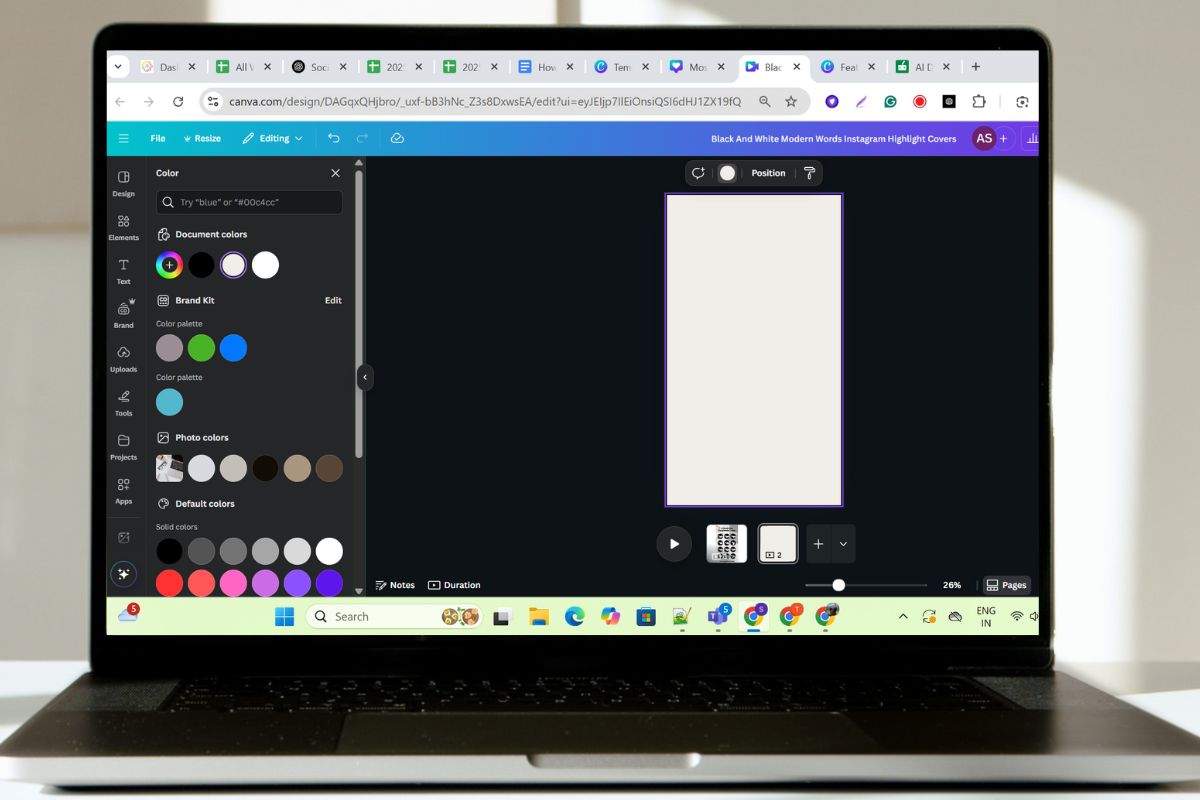
To change the background, click anywhere on the blank space and then click on the colour box at the top. Choose the colour you want. I went with a soft cream colour.
Step 4: Add Icons or Text
This part is fun. You can add little pictures (icons) to show what each Highlight is about. Go to “Elements” in Canva and type what you’re looking for. Like:
![]()
- “Camera” for Photos
- “Plane” for Travel
- “Paw” for Pets
- “Lightbulb” for Ideas
Click on the one you like and it’ll show up on your page. Move it to the centre and adjust the size. I made mine medium-sized and centred.
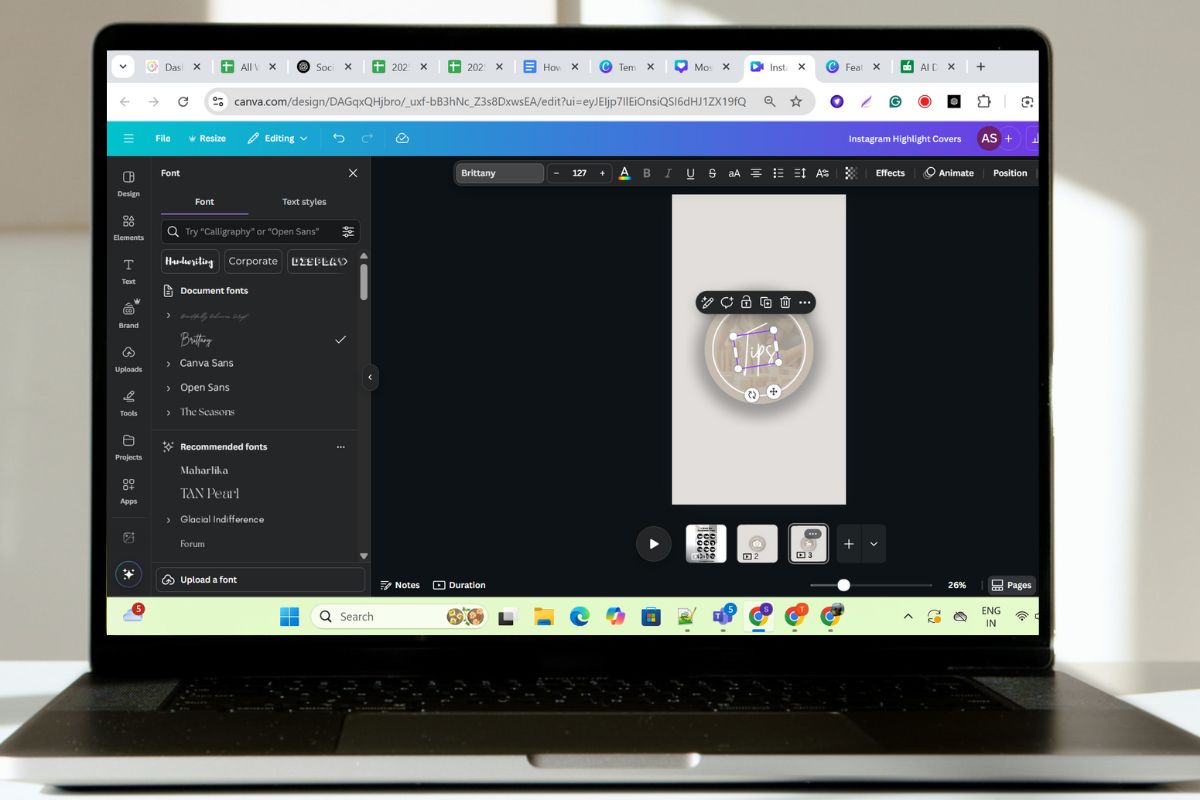
You can also add a short word instead of an icon. Like “Q&A” or “Tips.” Just click on “Text” and choose a font you like.
Step 5: Keep Things Simple
Don’t crowd the cover with too much stuff. One icon and one colour are usually enough. The Highlight cover is small when it shows on Instagram, so it needs to be clean.
If you add too much detail, it’ll just look messy. I tried adding flowers and shapes once. It looked cute on Canva but not on Instagram. So I kept it plain after that.
Step 6: Download Your Design
Once you’re happy with how it looks, click the “Share” or “Download” button. Choose “PNG” for better quality. Save it to your phone.
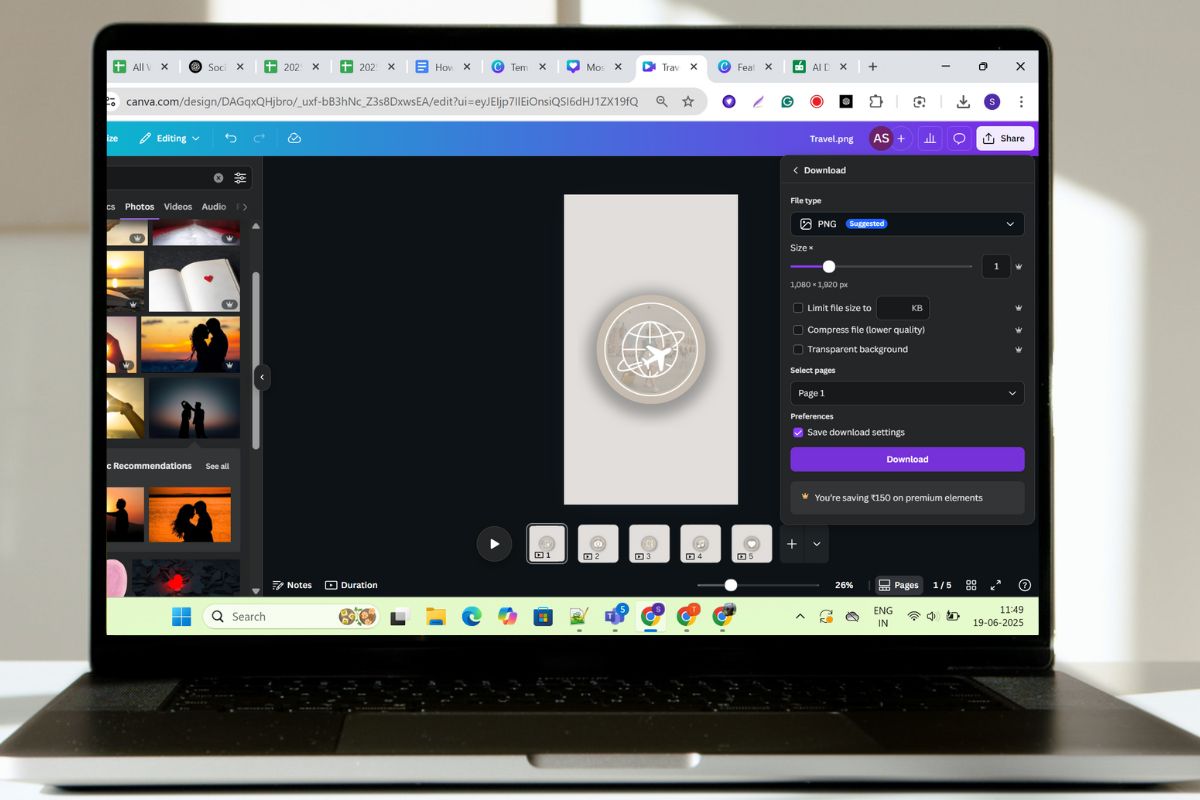
If you made more than one cover, download them all and keep them in a folder. It helps to name them like “travel.png” or “food.png” so you don’t mix them up.
Step 7: Upload the Covers on Instagram
Go to your Instagram profile. Tap on a Highlight. Tap “Edit Highlight”. Then choose “Edit Cover”. Now upload the design you made on Canva.
Move it around to fit. Make sure the icon is in the centre. Save it. Do the same for the rest of your Highlights.
And that’s it. You’re done.
Some Tips
- Stick to one theme. If one cover is pink and another is blue, it looks off.
- Don’t use super tiny icons. They’re hard to see on a phone.
- Try not to use too much text. One word is enough.
- Use the same font and size on all covers. It keeps things neat.
- If you like doodles or line art, Canva has tons of those. Just type “doodle” in Elements.
My Experience Making My First Set
When I first made my Highlight covers, I messed up the sizes. My icons weren’t centred. Some were too big. Some were off to the side. But after a few tries, I got the hang of it.
Now I look forward to changing them once in a while. Sometimes I match them to the seasons. Like a snowflake icon for winter or a leaf for fall. It’s a small thing, but it makes your page look more “you.”
One time, a friend messaged me just to ask how I made my Highlights. She thought I had hired someone. No. Just me and Canva on a Sunday afternoon.
Why It’s Worth Doing
It’s not just about looks. When your Highlights are clean and easy to understand, people stay longer on your page. They might tap through more of your stories. That’s good if you’re a small business, artist, or creator.
Even if you’re just using Instagram for fun, it still feels nice to look at your profile and feel proud of how it looks.
Also read: Tips for Stress-Free Adventures You Should Keep In Mind
Final Thoughts
Making Instagram Highlight covers with Canva is honestly simple. You don’t need design skills. You just need a bit of time, your phone or laptop, and a clear idea of what you want.
Start with one or two covers. You can always add more later. Don’t worry about being perfect. I wasn’t either. And it still turned out great. Try it once. You might enjoy it more than you think.