Have you ever looked at your plant and wondered if it needs a bigger pot? It may be growing too rapidly, with roots sticking out, or the soil just doesn’t retain water the way it once did. Repotting sounds complicated, but it needn’t be. If you do it carefully, your plant gets a fresh start and its roots are not damaged. In this guide, you will learn step-by-step how to repot your plant without harming the roots, with minimal mess.
1. Know When It’s Time to Repot
A plant sends signals when it needs more room. Its roots may push through drainage holes. The soil dries out very fast. Or the plant looks crowded in one corner of the pot.
Another sign is slow growth. If the pot cracks or you see roots above the soil, it needs a larger pot. Repotting gives roots room to breathe and find nutrients.
Also read: How to Make Cute and Clear Instagram Highlights Using Canva
2. Choose the Right Pot
Pick a new pot that is one size larger than the current one. A pot too big may hold too much water. A pot too small won’t give the roots room. Pick a pot with a drainage hole.
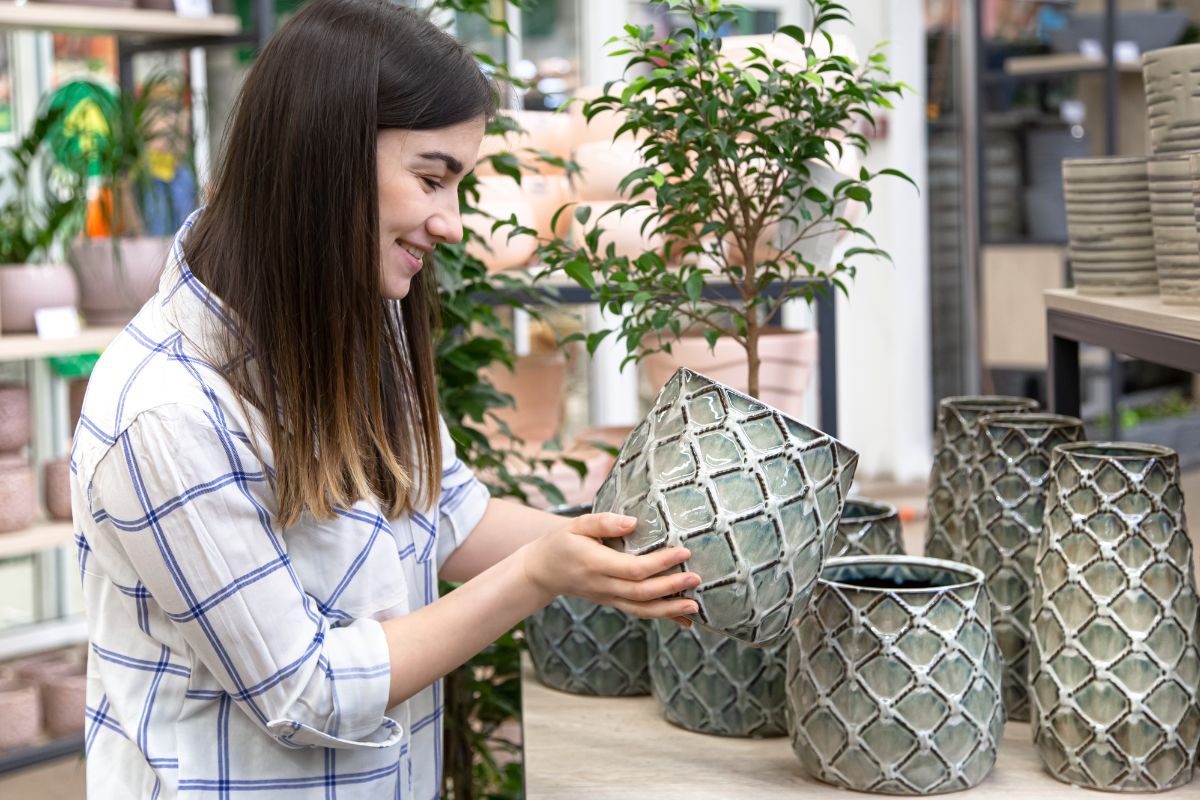
That hole stops water from pooling. Avoid extreme changes in pot size. The pot should sit steady and not wobble.
3. Prepare Soil First
Before you remove the plant, prepare the soil mix. Use fresh potting mix suited to the plant type. Many traditional houseplants do well in loam-rich soil with peat and perlite.
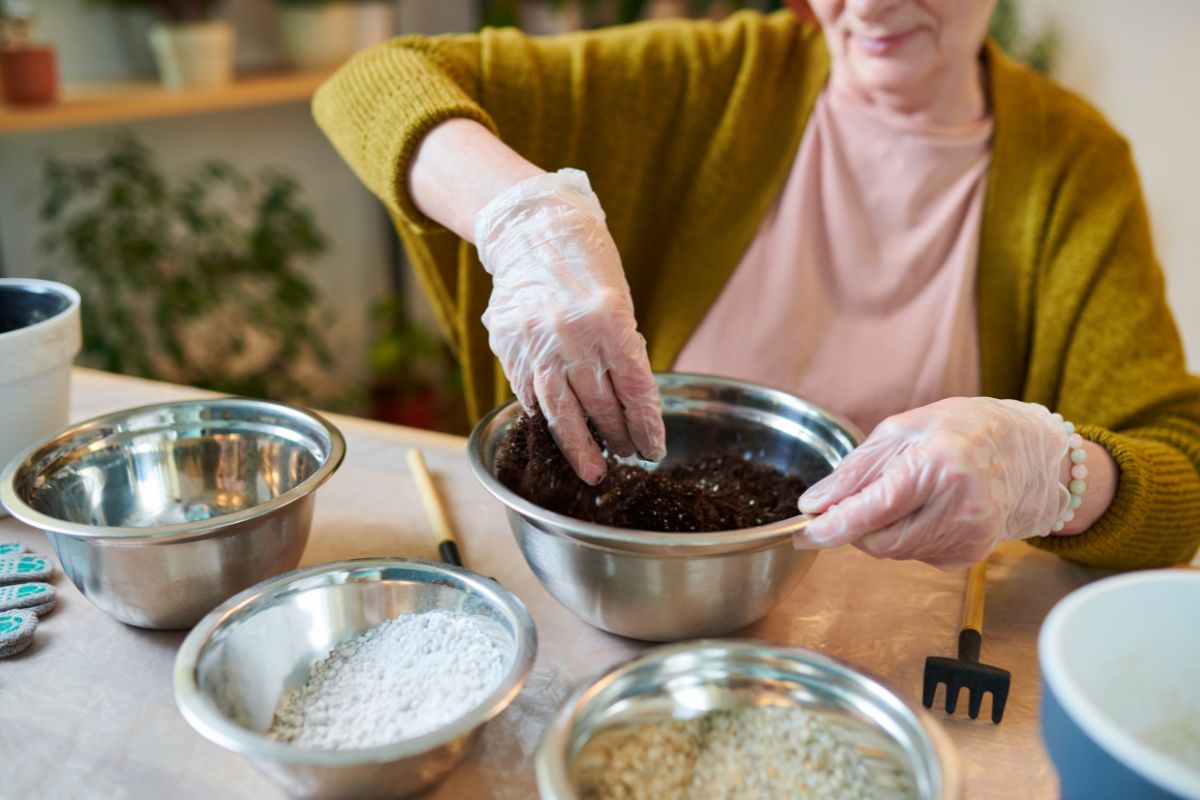
Succulents prefer sandy mixes. Fill the new pot with soil up to about one-third of its height. This gives a base for the plant to sit on.
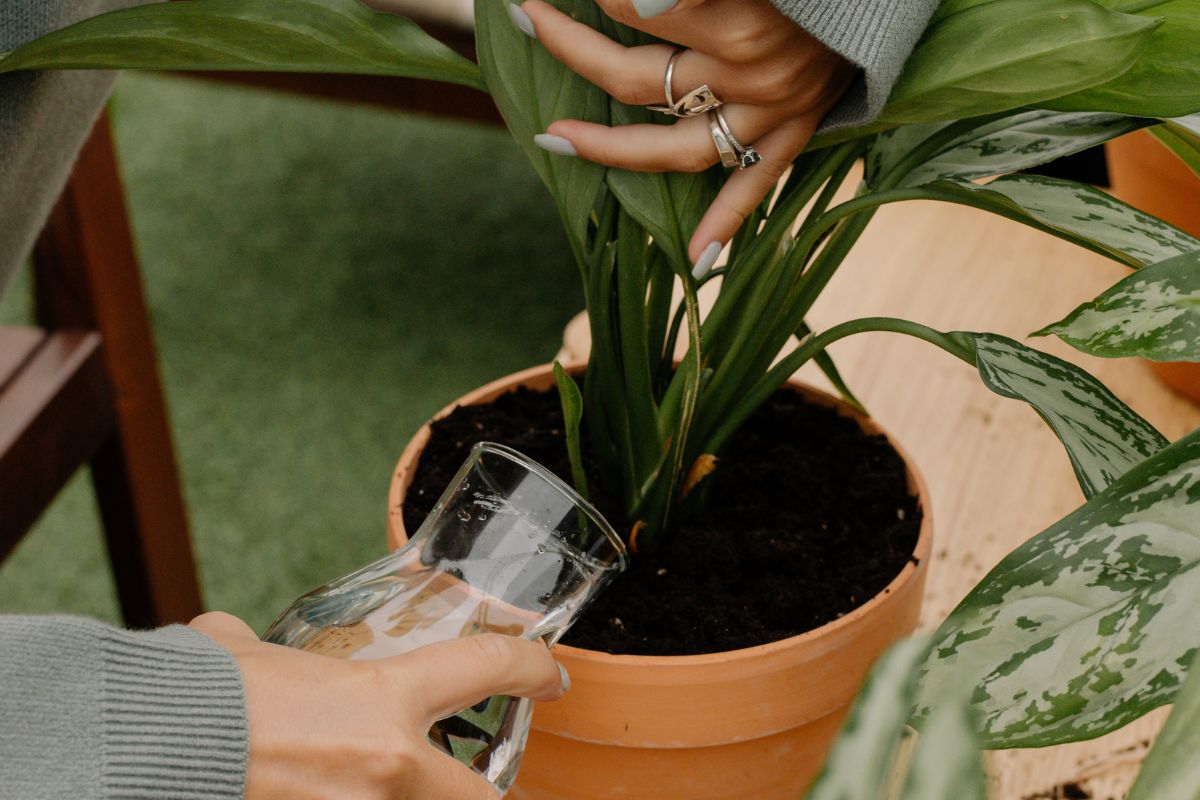
4. Water the Plant Before Repotting
Give the plant a good drink a day before repotting. Moist soil makes it hold together better. It also eases root stress. Avoid repotting a plant from dry soil, as it may fall apart.
Wet soil may stick, though, so aim for slightly damp just before the move. Healthy roots are better able to withstand handling when they are moist.
5. Gently Remove the Plant
Turn the pot to its side. Tap the edge to loosen soil. Hold the plant near its base. Pull it out gently. If it does not come free, run a knife around the pot’s rim.
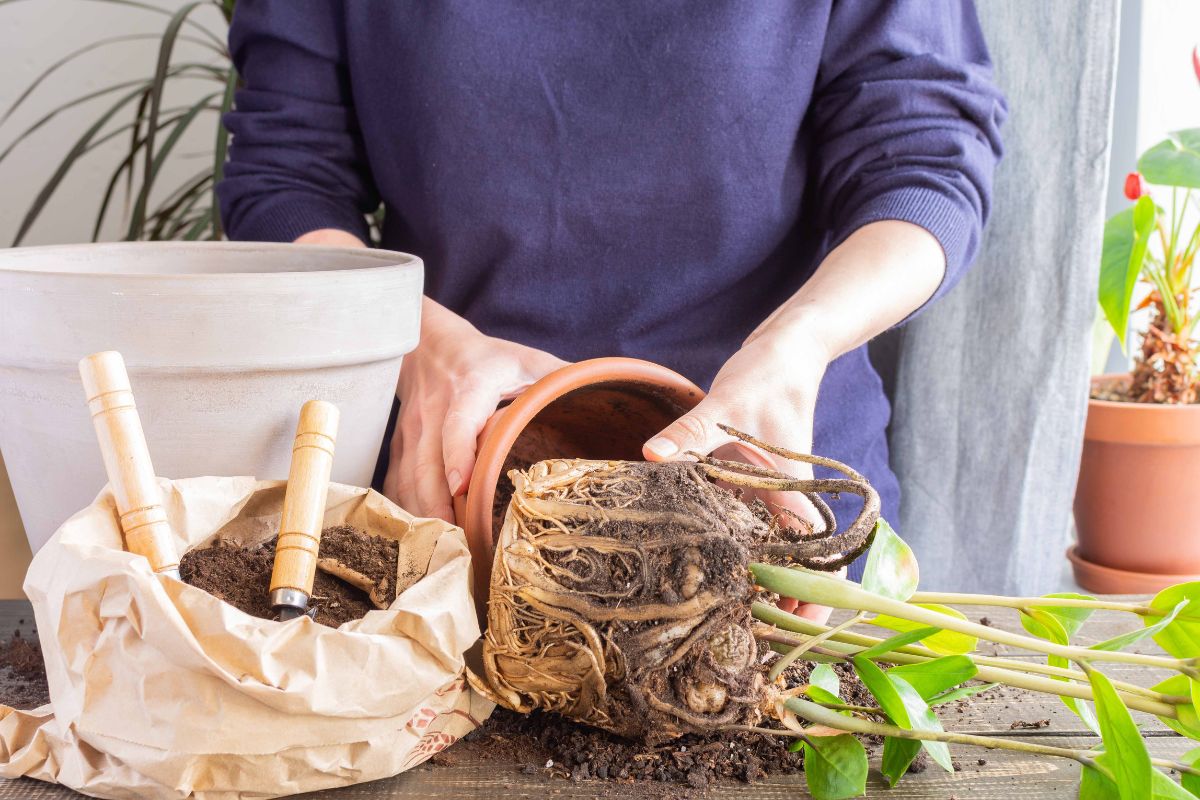
Avoid tugging on stems or leaves. Let the whole root ball come away in one piece.
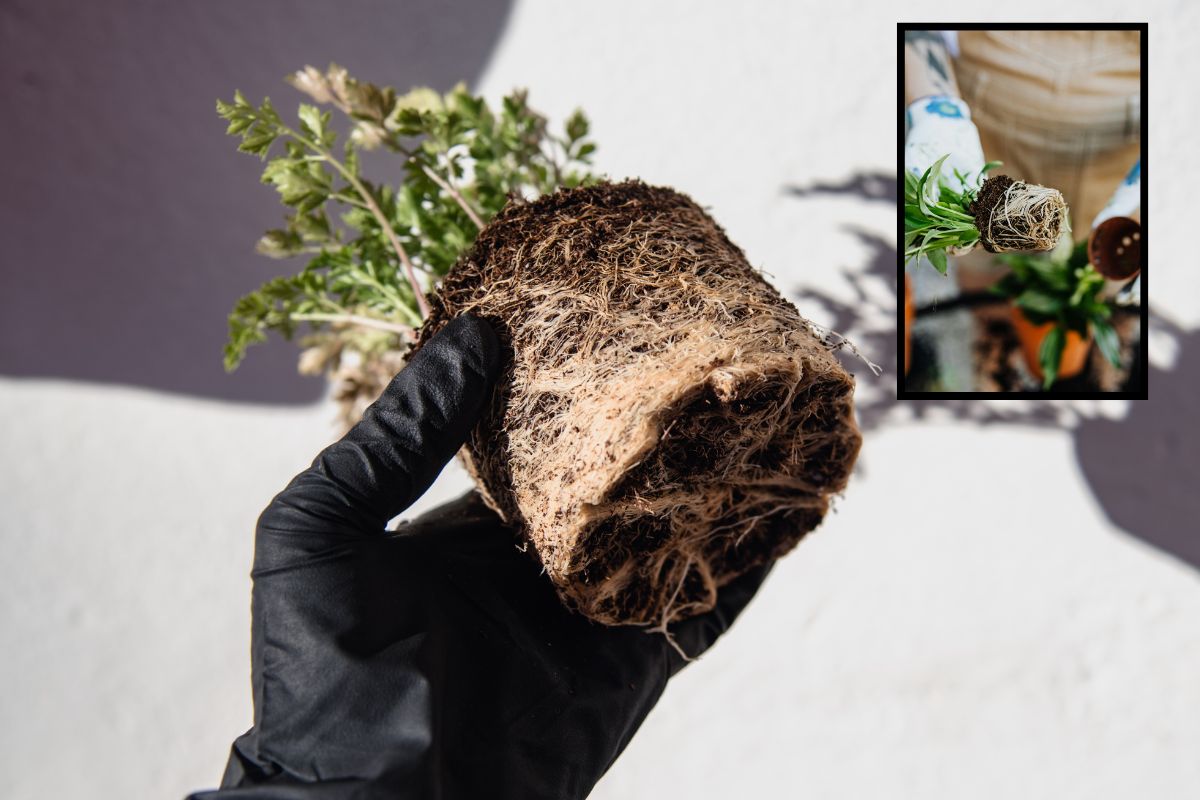
6. Check and Loosen the Roots
Inspect the root ball. Roots may circle the pot’s edge. Loosen these gently with your fingers. Trim off dead or rotten roots. Cut a small portion without being too rough.
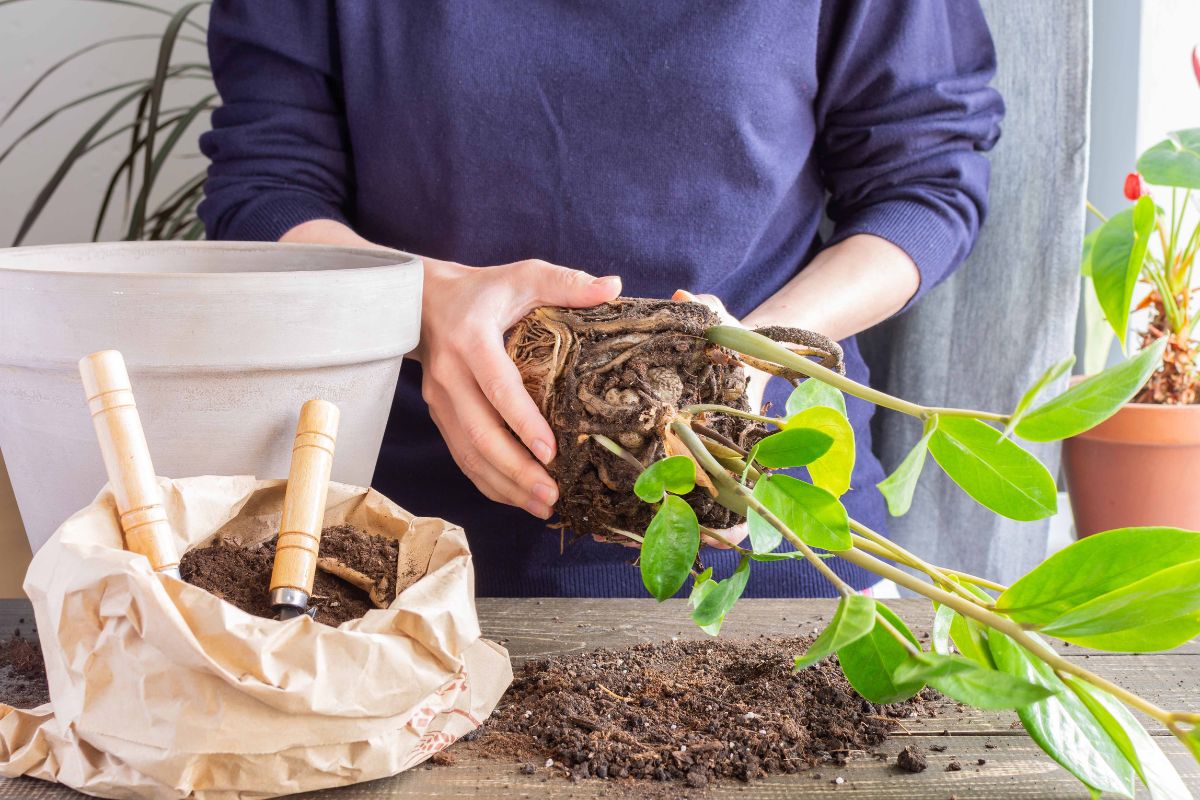
For stubborn tangles, make 3 to 5 vertical cuts down the sides. This action frees the roots and encourages them to grow outward into new soil.
7. Position the Plant in the New Pot
Place the plant in the centre. Adjust its height so the top of the root ball sits just below the pot rim. Add soil around the root ball in small amounts.
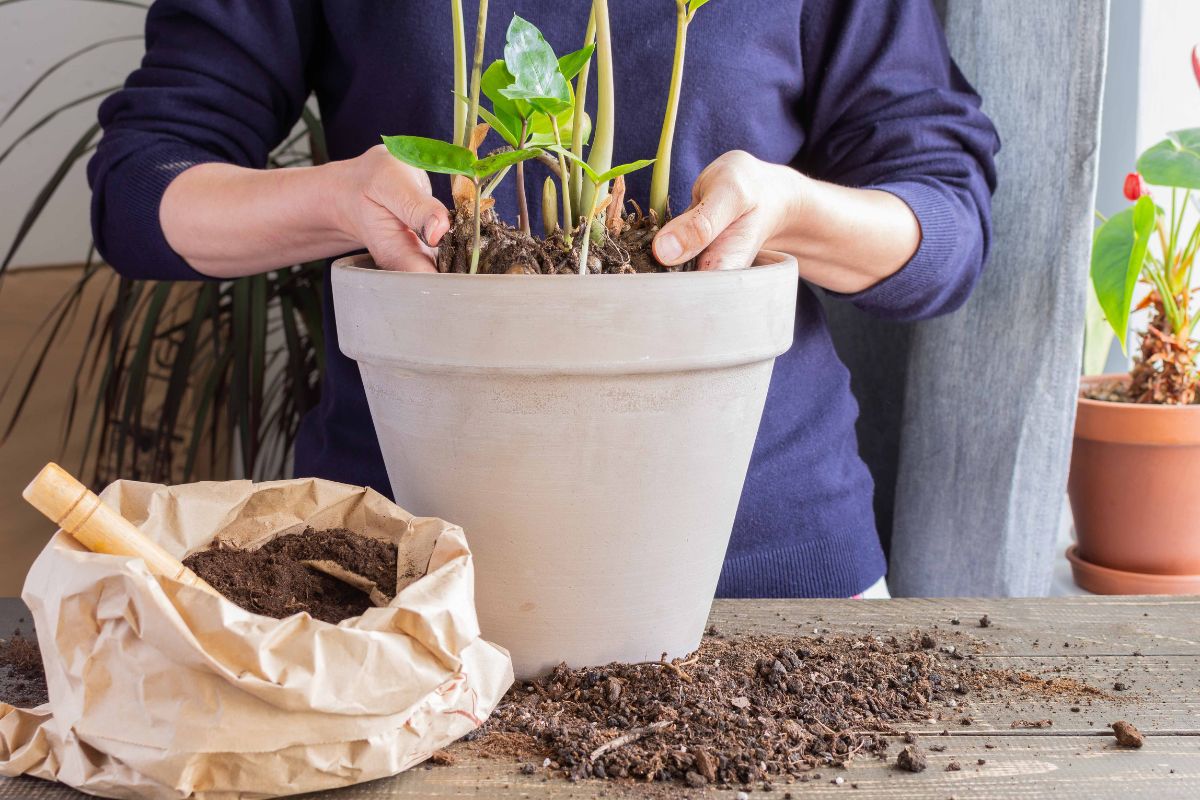
Press it lightly to remove air pockets. Fill until soil reaches just under the rim. The plant should stand upright and feel secure.
8. Water and Let It Settle
Give the plant a good soak right after repotting. Water slowly until it drains from the bottom. This settles the soil around the roots. Let the plant rest in its new pot.
Avoid direct sun or extreme heat. Keep it in a place with good light but no harsh sun for a few days.
9. Care in the Weeks After Repotting
Newly repotted plants need a short rest. Don’t feed them for two to four weeks. Their roots focus on growth, not absorbing extra nutrients. Water when the top soil feels dry. Keep them away from cold drafts and heat sources.
10. Watch for Signs of Stress
The plant may droop or its leaves may curve. It may show slight wilting or a few leaf drops. That is normal. Keep caring for it as usual. Give regular light and water. Signs of new growth show it has settled well.
11. Common Mistakes to Avoid
- Don’t repot too often. Most plants only need it every 1 to 2 years.
- Don’t bury the plant too deep. Leaves should sit above soil.
- Don’t leave gaps at the top of the pot. Fill them so water does not run off.
- Don’t skip drainage holes. Water must leave the pot easily.
12. Extra Tips for Specific Plants
- Cacti and succulents need gritty soil and pots that drain fast.
- Tropical plants like philodendrons enjoy soil that holds water and nutrients.
- Ferns and orchids require special mixes to stay healthy.
- Young seedlings may prefer small pots for snug root space. Large pots can hinder their growth.
Why This Matters
Repotting carefully promotes strong plant growth. Roots in new soil hold nutrients and water more effectively. Densely packed growth can stunt and attract pests. Healthy roots also help the plant manage stress and ward off disease. A well-potted plant is a better-looking, longer-living plant.
Also read: Turning Setbacks into Success: A Simple Guide That Actually Helps
Final Words
The idea of repotting a plant can be daunting, but don’t let it scare you. It begins with choosing the proper pot, which doesn’t cramp your plant’s style. You add soil next, fresh and right for the kind of plant you have. When it’s time to relocate the plant, hands of a delicate nature count. Treat the roots with care.
Once you have potted, you need to give that plant some time to settle in and make adjustments. Avoid the common mistakes, such as overwatering or manhandling, and your plant will reward you.
With the right care, it will start to breathe better, absorb more water, and soon show signs of new life. That’s how a relatively small outlay can become something that cheers up your home for years to come.